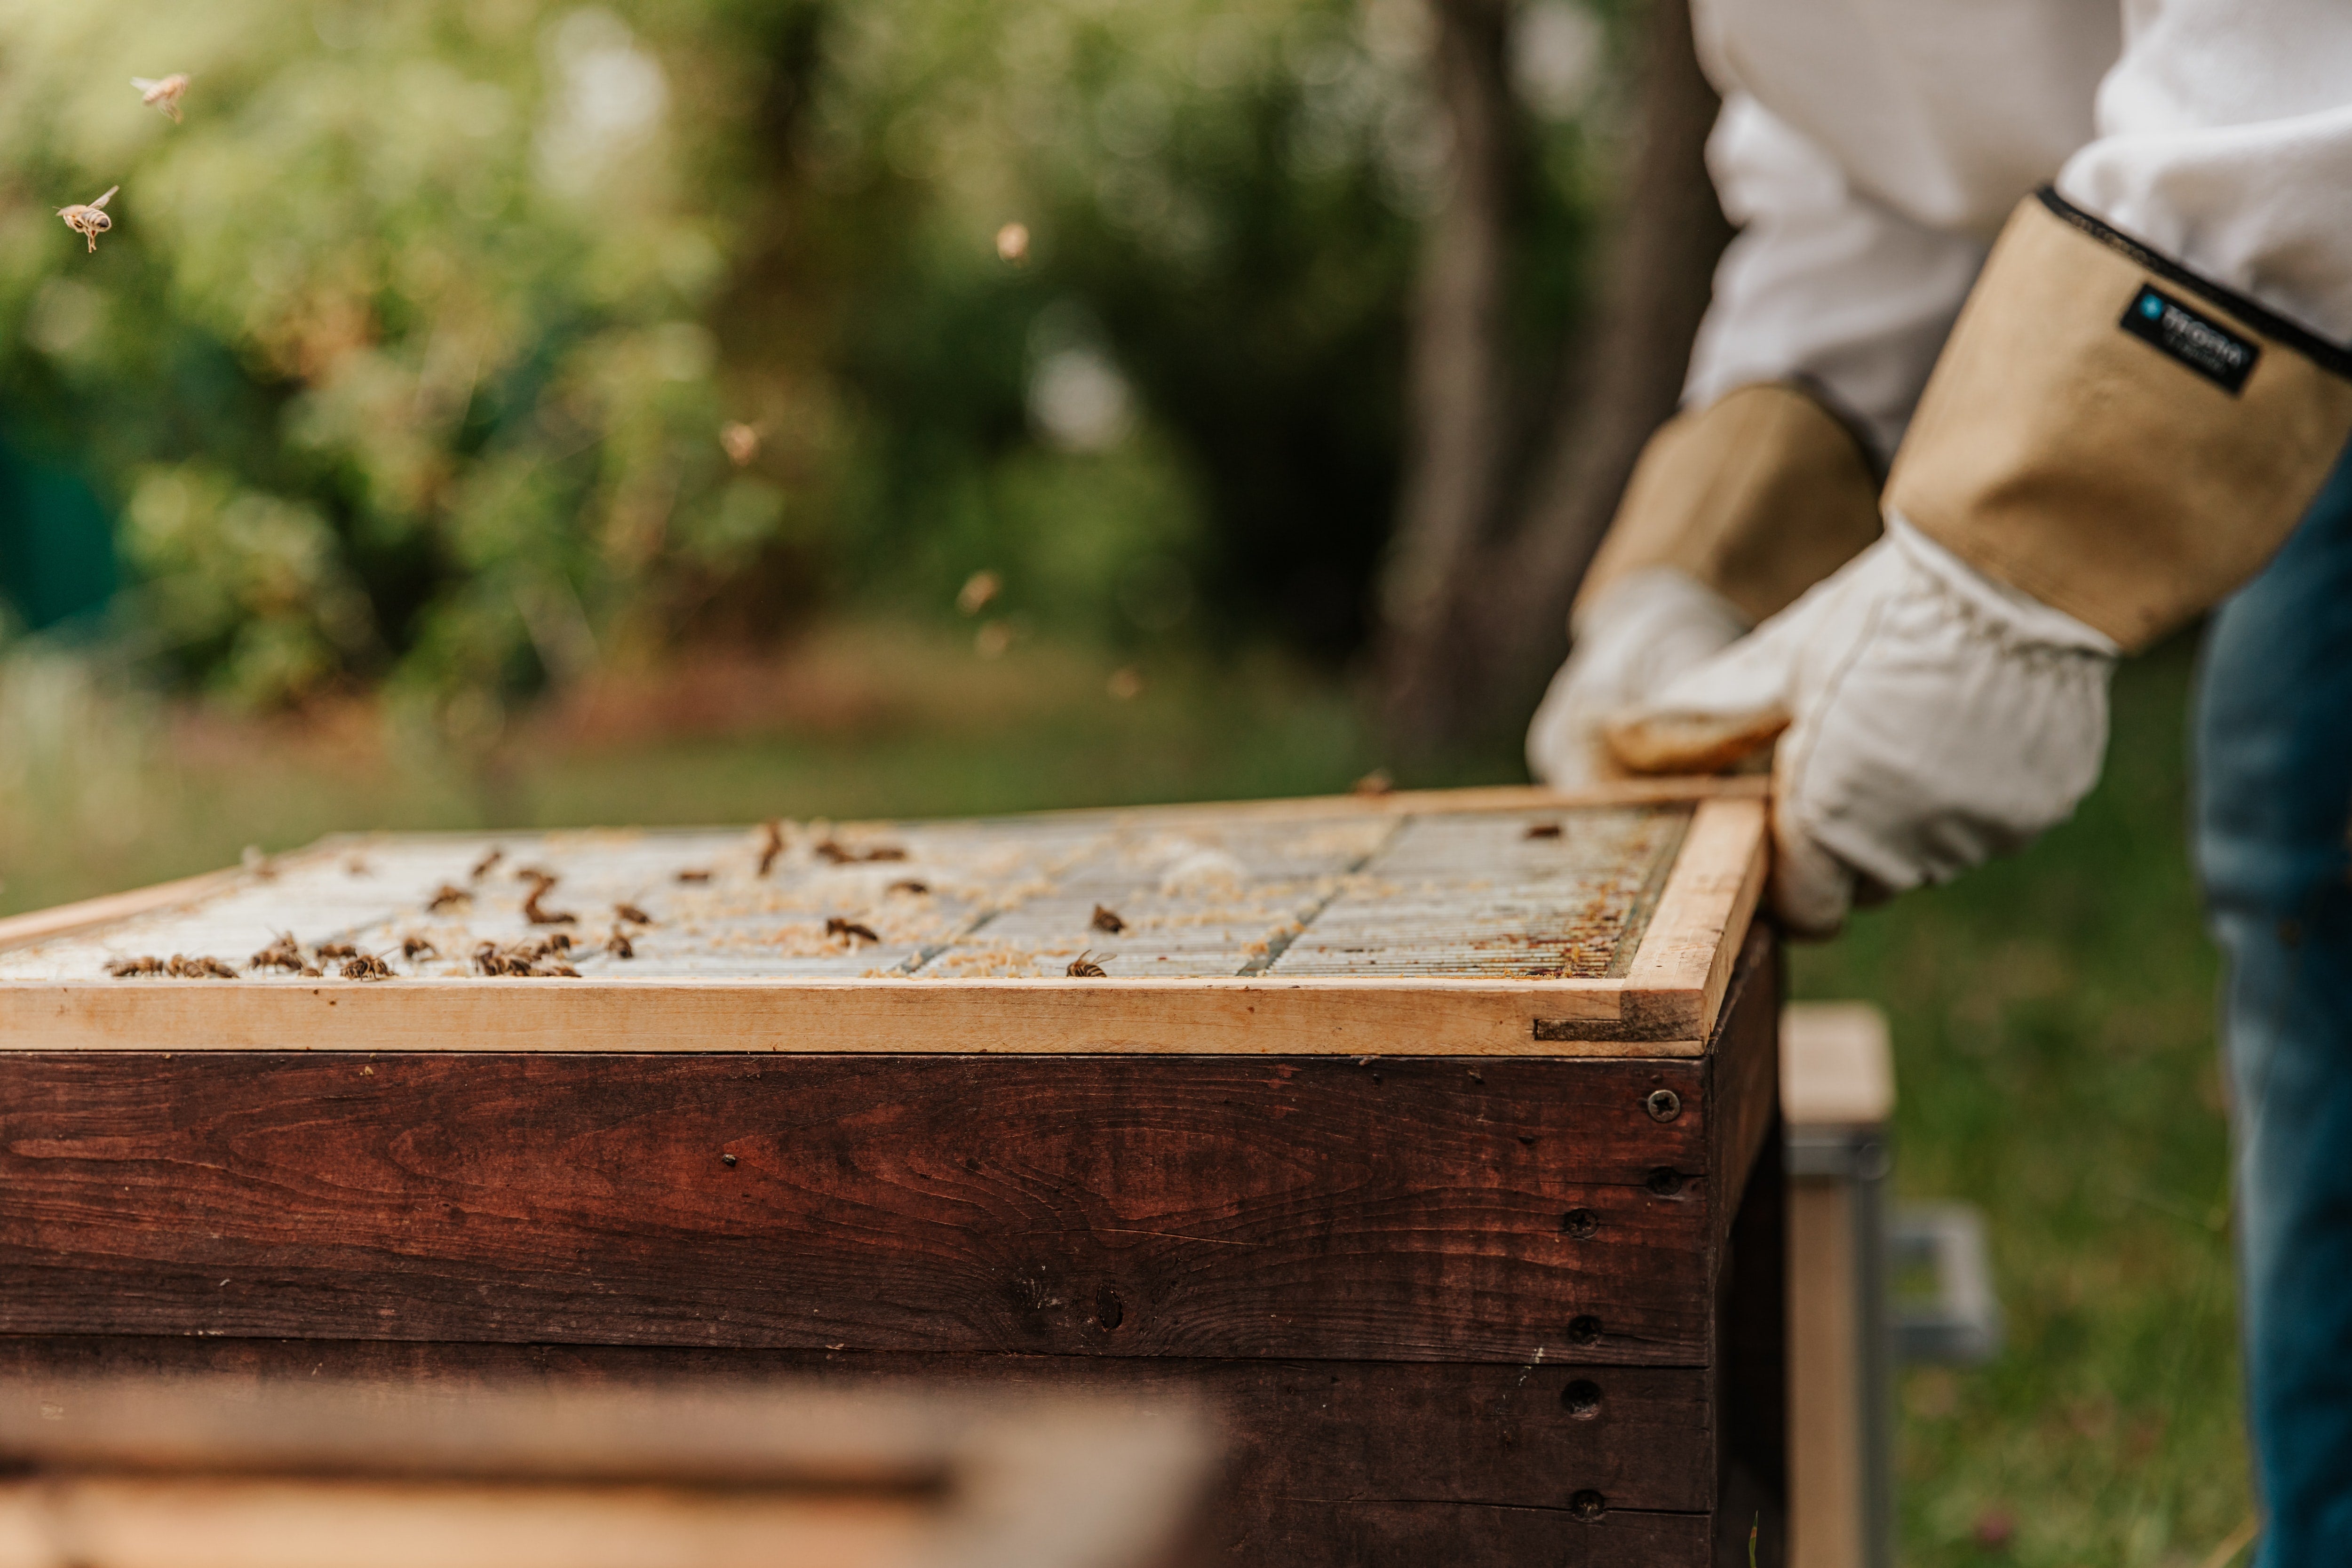
Packing down for the winter
Getting your hives and parts sorted for the season
Like us, bees want to be warm, safe and well-fed during winter. That’s why winter hive prep is all about reducing space, defending against intruders and making sure bees have enough honey in stock.
Packing down and winterising your hives ensures that bees aren’t wasting energy heating large spaces and are protected from the elements. Installing robbing screens and excluders is another step, helping keep pests and predators out of the hive while it’s at its weakest. It’s also important to know how to store the hive boxes and frames that you remove – or you could lose precious drawn comb to pests as well.
Ready to prep? Here’s how:
Reduce hive size
In spring and summer, bees need space to move around, expand their population and store as much honey as possible. In winter, the colony shrinks and much of the honey is removed. The remaining bees cluster in the centre of the hive, vibrating their wings to stay warm but otherwise moving around very little. This
means all that extra space in the hive is unnecessary – and a burden. The bigger the hive, the more energy the bees must use to heat and defend it.
Reduce the size of your hives at harvest time by removing honey supers – don’t put them back on until next spring. You should be left with a two-box hive, with the brood box on the bottom and the full honey super on top. Remove empty brood frames, and make sure there are two to four full honey and pollen
frames in the brood box so your bees have easy access to food. It’s also important to remove any queen excluders, so your queen can travel freely between boxes.
Defend against predators
During winter, your colony is at its weakest, making it vulnerable to robbing, wasps, beetles, mice and other invaders. Adding a robbing screen can help keep wasps and bees from other colonies out by screening the main hive entrance, while a mouse guard can stop furry invaders from sneaking in. It’s also
smart to replace vented bottom boards with traditional versions, seal cracks and holes, and close off any ventilation holes added during summer.
Weatherproofing
The need for weatherproofing depends on the climate in your area. If it’s rainy and wet, you can place hives on blocks or boards to prevent dampness from seeping into the bottom box. If it’s extremely cold, you could add an insulated hive lid for extra warmth. If you’re in a stormy area or your property is exposed to wind, you can move hives to a sheltered spot or secure them firmly so they won’t tip over. In some places with particularly harsh conditions, beekeepers move their hives indoors – just ensure there’s an open door so bees can get outside if needed.
Storing hive parts
Storing hive components can be complicated. While empty frames and supers can be cleaned and stored in any dry spot, frames containing drawn comb need a bit more care. These are frames that bees have built comb onto – but not yet filled with honey or brood. Because it takes a lot of effort and energy to build
comb, it’s worth saving these frames for next year, so your bees can get a head start on production.
Drawn comb is at risk of being eaten by moths, mice and other pests, so it can’t just be tossed into the
corner of a garage or shed.
Here’s how to keep it safe:
- Freeze each drawn comb frame for at least 48 hours – this will kill any moth eggs or larvae on the comb.
- Store in an airtight container or large plastic bag, and place in a cool, dry spot. Alternatively, you can hang drawn frames from the ceiling of your storage space – but this is a bit more complex.
- Place mousetraps around the frames to reduce the risk of mice chewing through containers and getting to the comb.
Well prepared for winter
Once you’ve done your winter prep, the rest of the season is pretty straightforward. Safe in their hives, your bees will eat their stored honey, keep themselves cosy and be ready for the busy season when spring rolls around.
Want to find out about feeding bees over winter? Have a browse through our blog series.

