

How To Clean And Process Useful Beeswax
After honey,beeswax is probably the best-known product made in the hive. Wax is made by bees to store honey and is extracted when honey is removed from the hive. It’s a natural product that can be used to make a wide range of different products – candles, crayons, lip balms, food wraps and more.
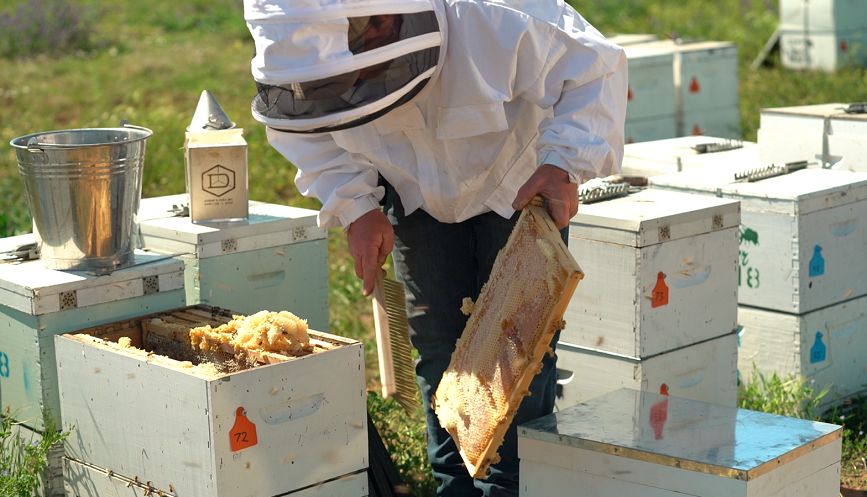
After you extract honey from your hives, you’re left with a mass of raw wax. This was used to cover the stored honey in the hive and is scraped off as part of the honey harvesting process. Raw wax is sticky with honey and full of debris from the hive – clumps of propolis, bits of dead bees and other dirt. Making the wax useable means removing this and melting the wax down.
If you’re extracting honey from beehives, it’s worth learning how to clean and process the wax. It’s not complicated and can be done at home, but it does require a bit of planning – and some equipment you don’t mind ruining.
Here’s our beginner’s guide to processing beeswax:
1: You will need:
- A large pot that you’re not attached to – buy one from a second-hand shop or use an old one
- A spoon or stirrer – this should also be something you no longer want
- A large plastic bucket
- Newspapers or painter’s cloths to cover your work surface
- Muslin cloth or an old t-shirt for straining wax
- Paper towels
- Mineral oil (optional for clean up)
2: Prepare your space
- Cover your benchtop and other work surfaces with newspapers, a painter’s drop cloth or other material – beeswax is very sticky and difficult to remove if it ends up on a surface.
- Cover the bucket with a large piece of muslin or even an old t-shirt.
- Secure with strong clips or a large rubber band.
3: Melt the wax
- Place the wax in the pot and cover it with water. Don’t overfill – if you have a large volume of wax, you may need to do two or more loads.
- Put the pot on your stove and turn the heat to medium-low. Don’t be tempted to overheat – wax is very flammable.
- Bring the water to a simmer, but not a boil, and stir frequently.
- Watch and stir as the wax begins to melt – never leave unattended.
- The wax will float to the surface of the water, while the debris settles on the bottom.
4: Pour and strain
- Once the wax has melted, carefully lift the pot from the stove – you may need someone else to help you with this step if you are using a larger pot.
- Slowly pour the liquid through the fabric and into the bucket – the liquified wax and water will go through, while the debris will be caught in the fabric.
- If you have more wax to melt, go back to step one.
5: Cool and collect
- Once you have melted and strained all your wax cappings, remove the fabric cover and discard.
- Cover the bucket with a clean cloth and leave it to cool overnight.
- When cool, the wax will form a firm yellow layer that floats on top of the water.
- Remove the wax disc from the bucket and pour the water out.
- Rinse the wax in cool water to remove any remaining honey residue, and carefully scrape any visible dirt from the base.
- In some cases, the wax may still be slightly dirty – if you’re not happy with yours, you can repeat the entire process from the beginning.
6: Store and use
- Wrap the wax in muslin or baking paper and store it in a cool place.
- When you’re ready to use it, re-melt it to make candles or other products.
- If you wish to sell wax or pass it on to friends, you can gently melt it in a double-boiler and pour small amounts into plastic moulds or containers. If you don’t have access to a double boiler, use an old pot to melt your wax and then use a stainless jug or pitcher to transfer the melted wax into your moulds.
7: Clean up
- Put drop cloths away for next time, or discard used newspapers.
- Wash your pot and utensils with hot water and put them away for your next wax processing – you won’t be able to get every bit of wax out, but you should be able to remove visible dirt.
- If surfaces are splattered with wax, use mineral oil and paper towels or a cloth to wipe it off.
Beeswax in all its variety
You don’t have to be particularly crafty to put beeswax to good use. There are plenty of online tutorials and instructions about making it into candles, soaps or beauty products. If you’re not keen on those things, you can even use the hardened wax to polish furniture, or just pass it on to friends and family. Whatever your preference, it’s certainly worth making the effort to clean and process your wax – even if it gets a little messy.
Want more beginner beekeeping tips?Read our guides here.